I love to have a “Seasonally Themed” table topper that I can reuse, and I always love to include candles. I am even MORE excited when the table decor can be created at a relatively inexpensive price! So, I have designed a table topper that is both inexpensive, and insanely gorgeous, and will create an atmosphere of warmth and summer comfort! SO, roll up your sleeves and get ready to create your own crazy, creative SUMMER TABLE TOPPER!
What you need:
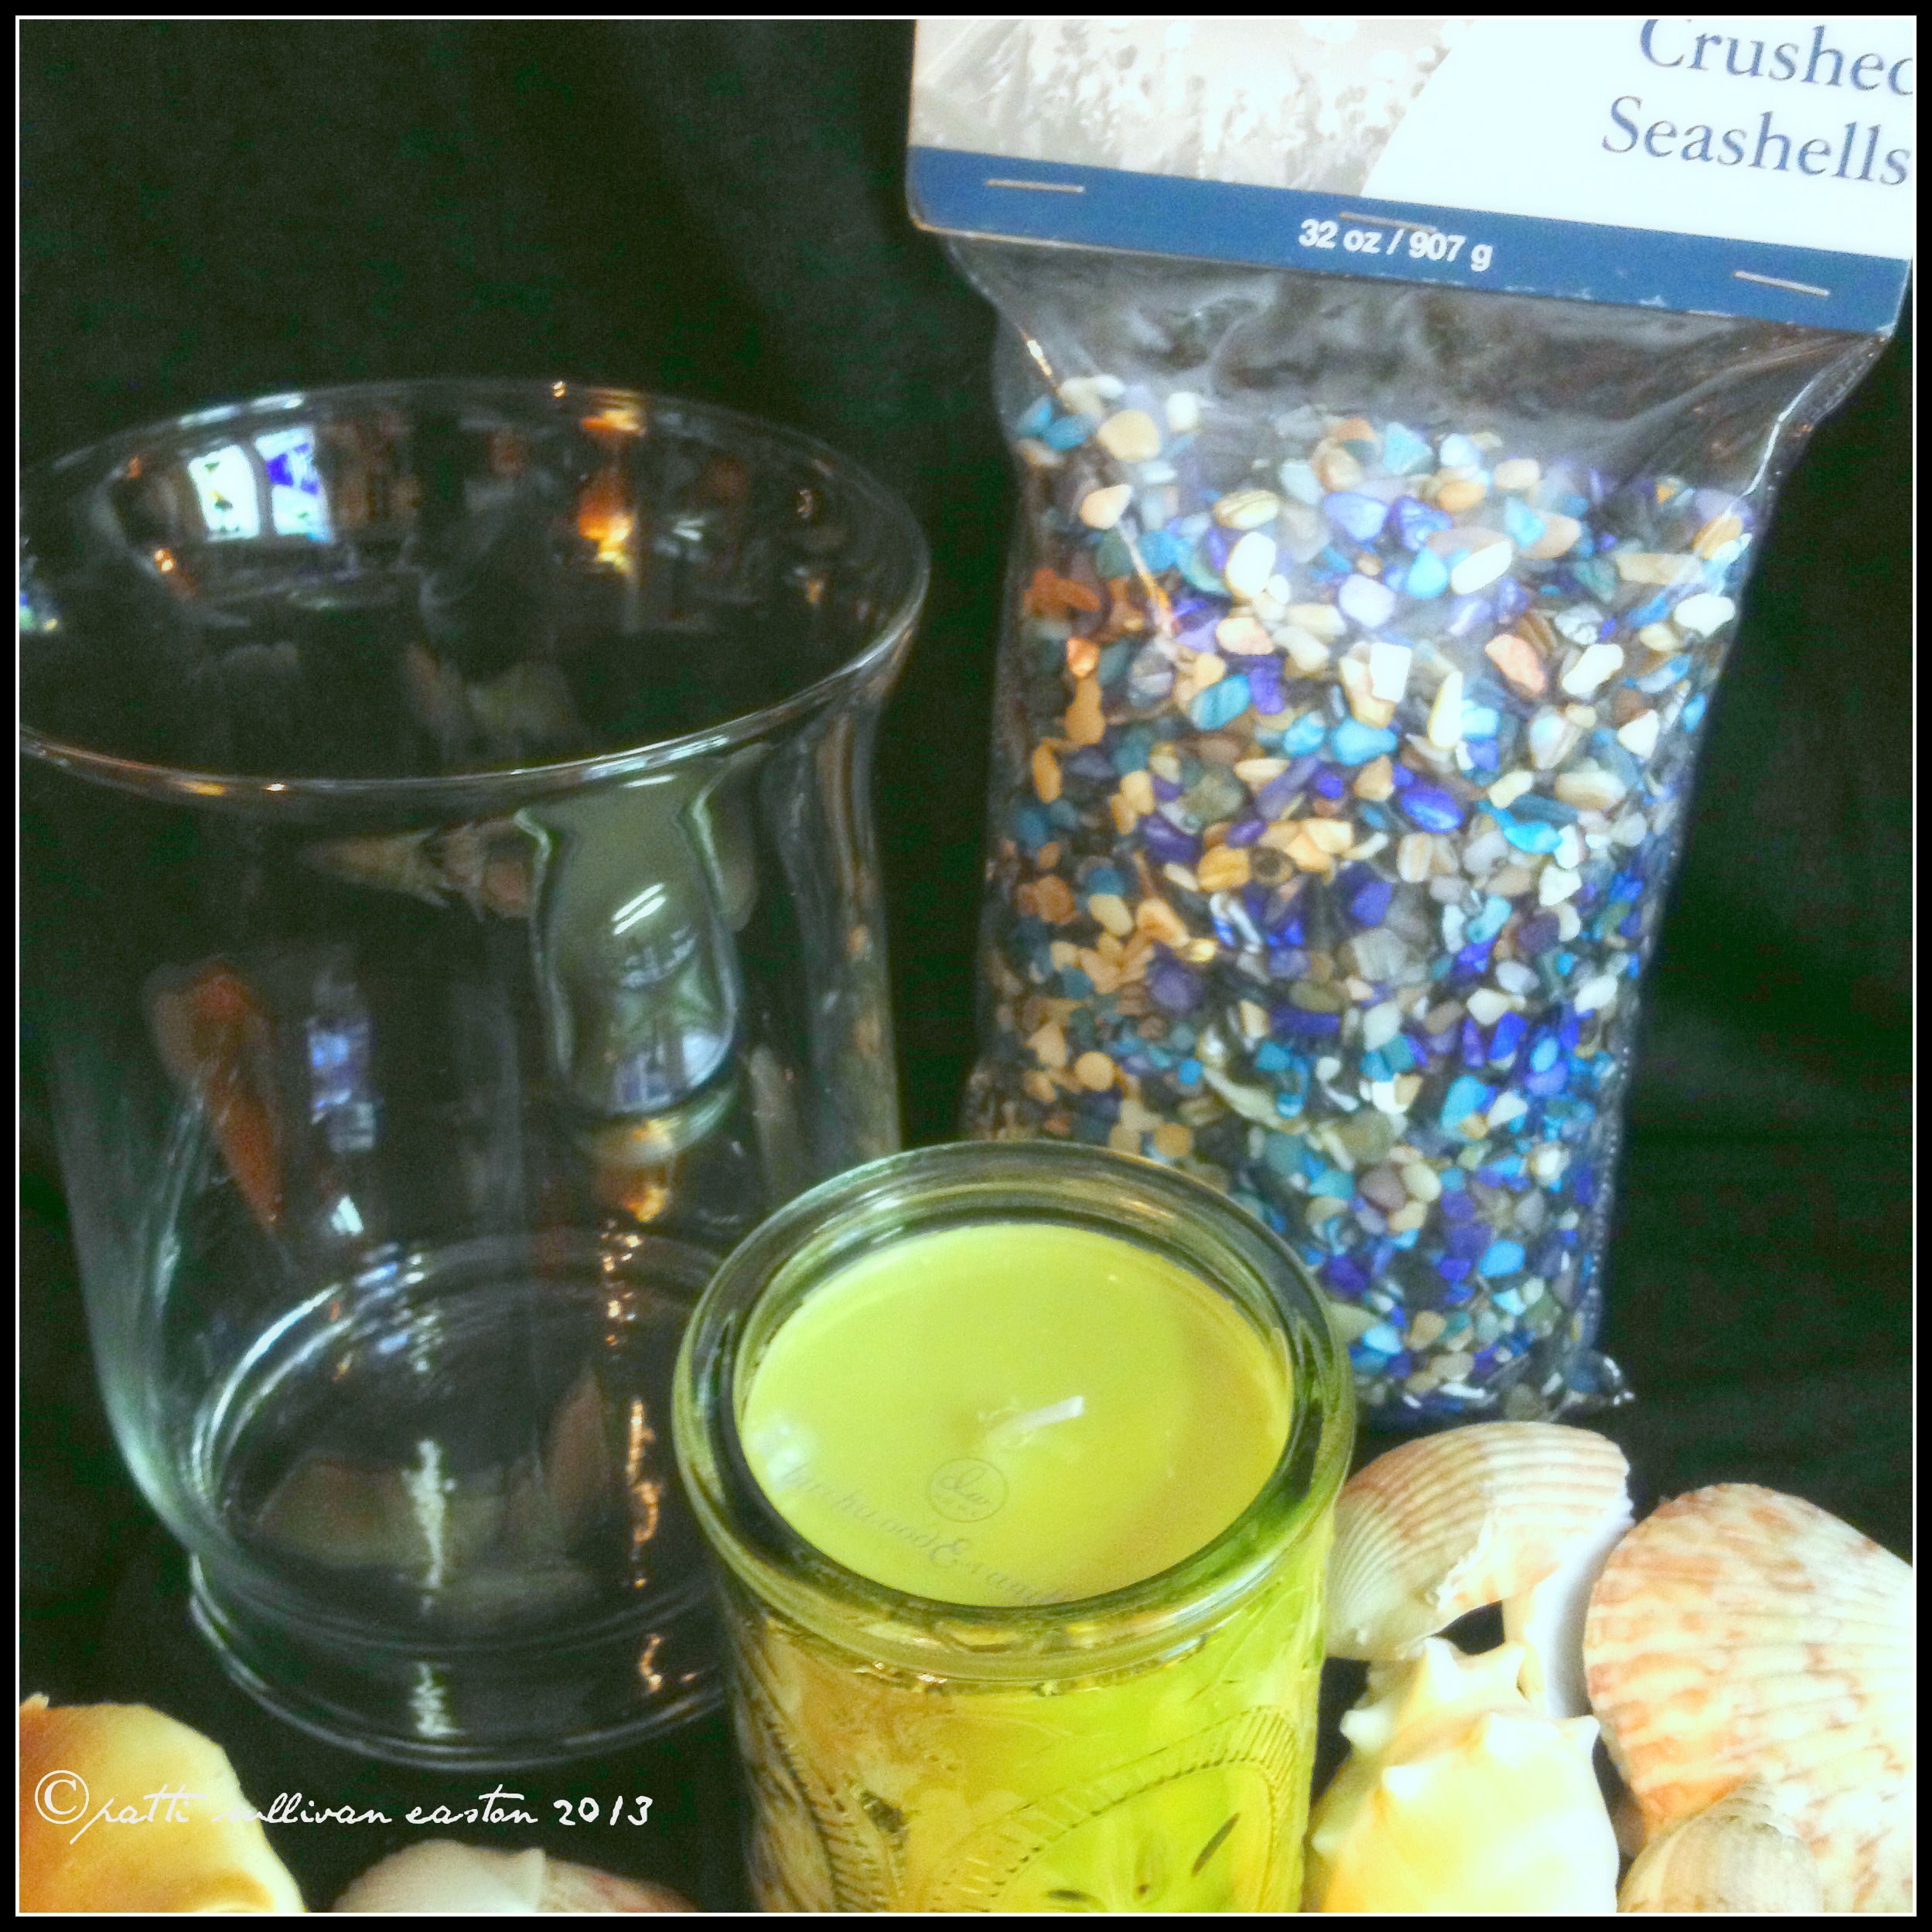
- A jar to hold the shells~ the jar I used was 8″ tall and 5 1/2″ in diameter
- A bag of shells to fill the jar
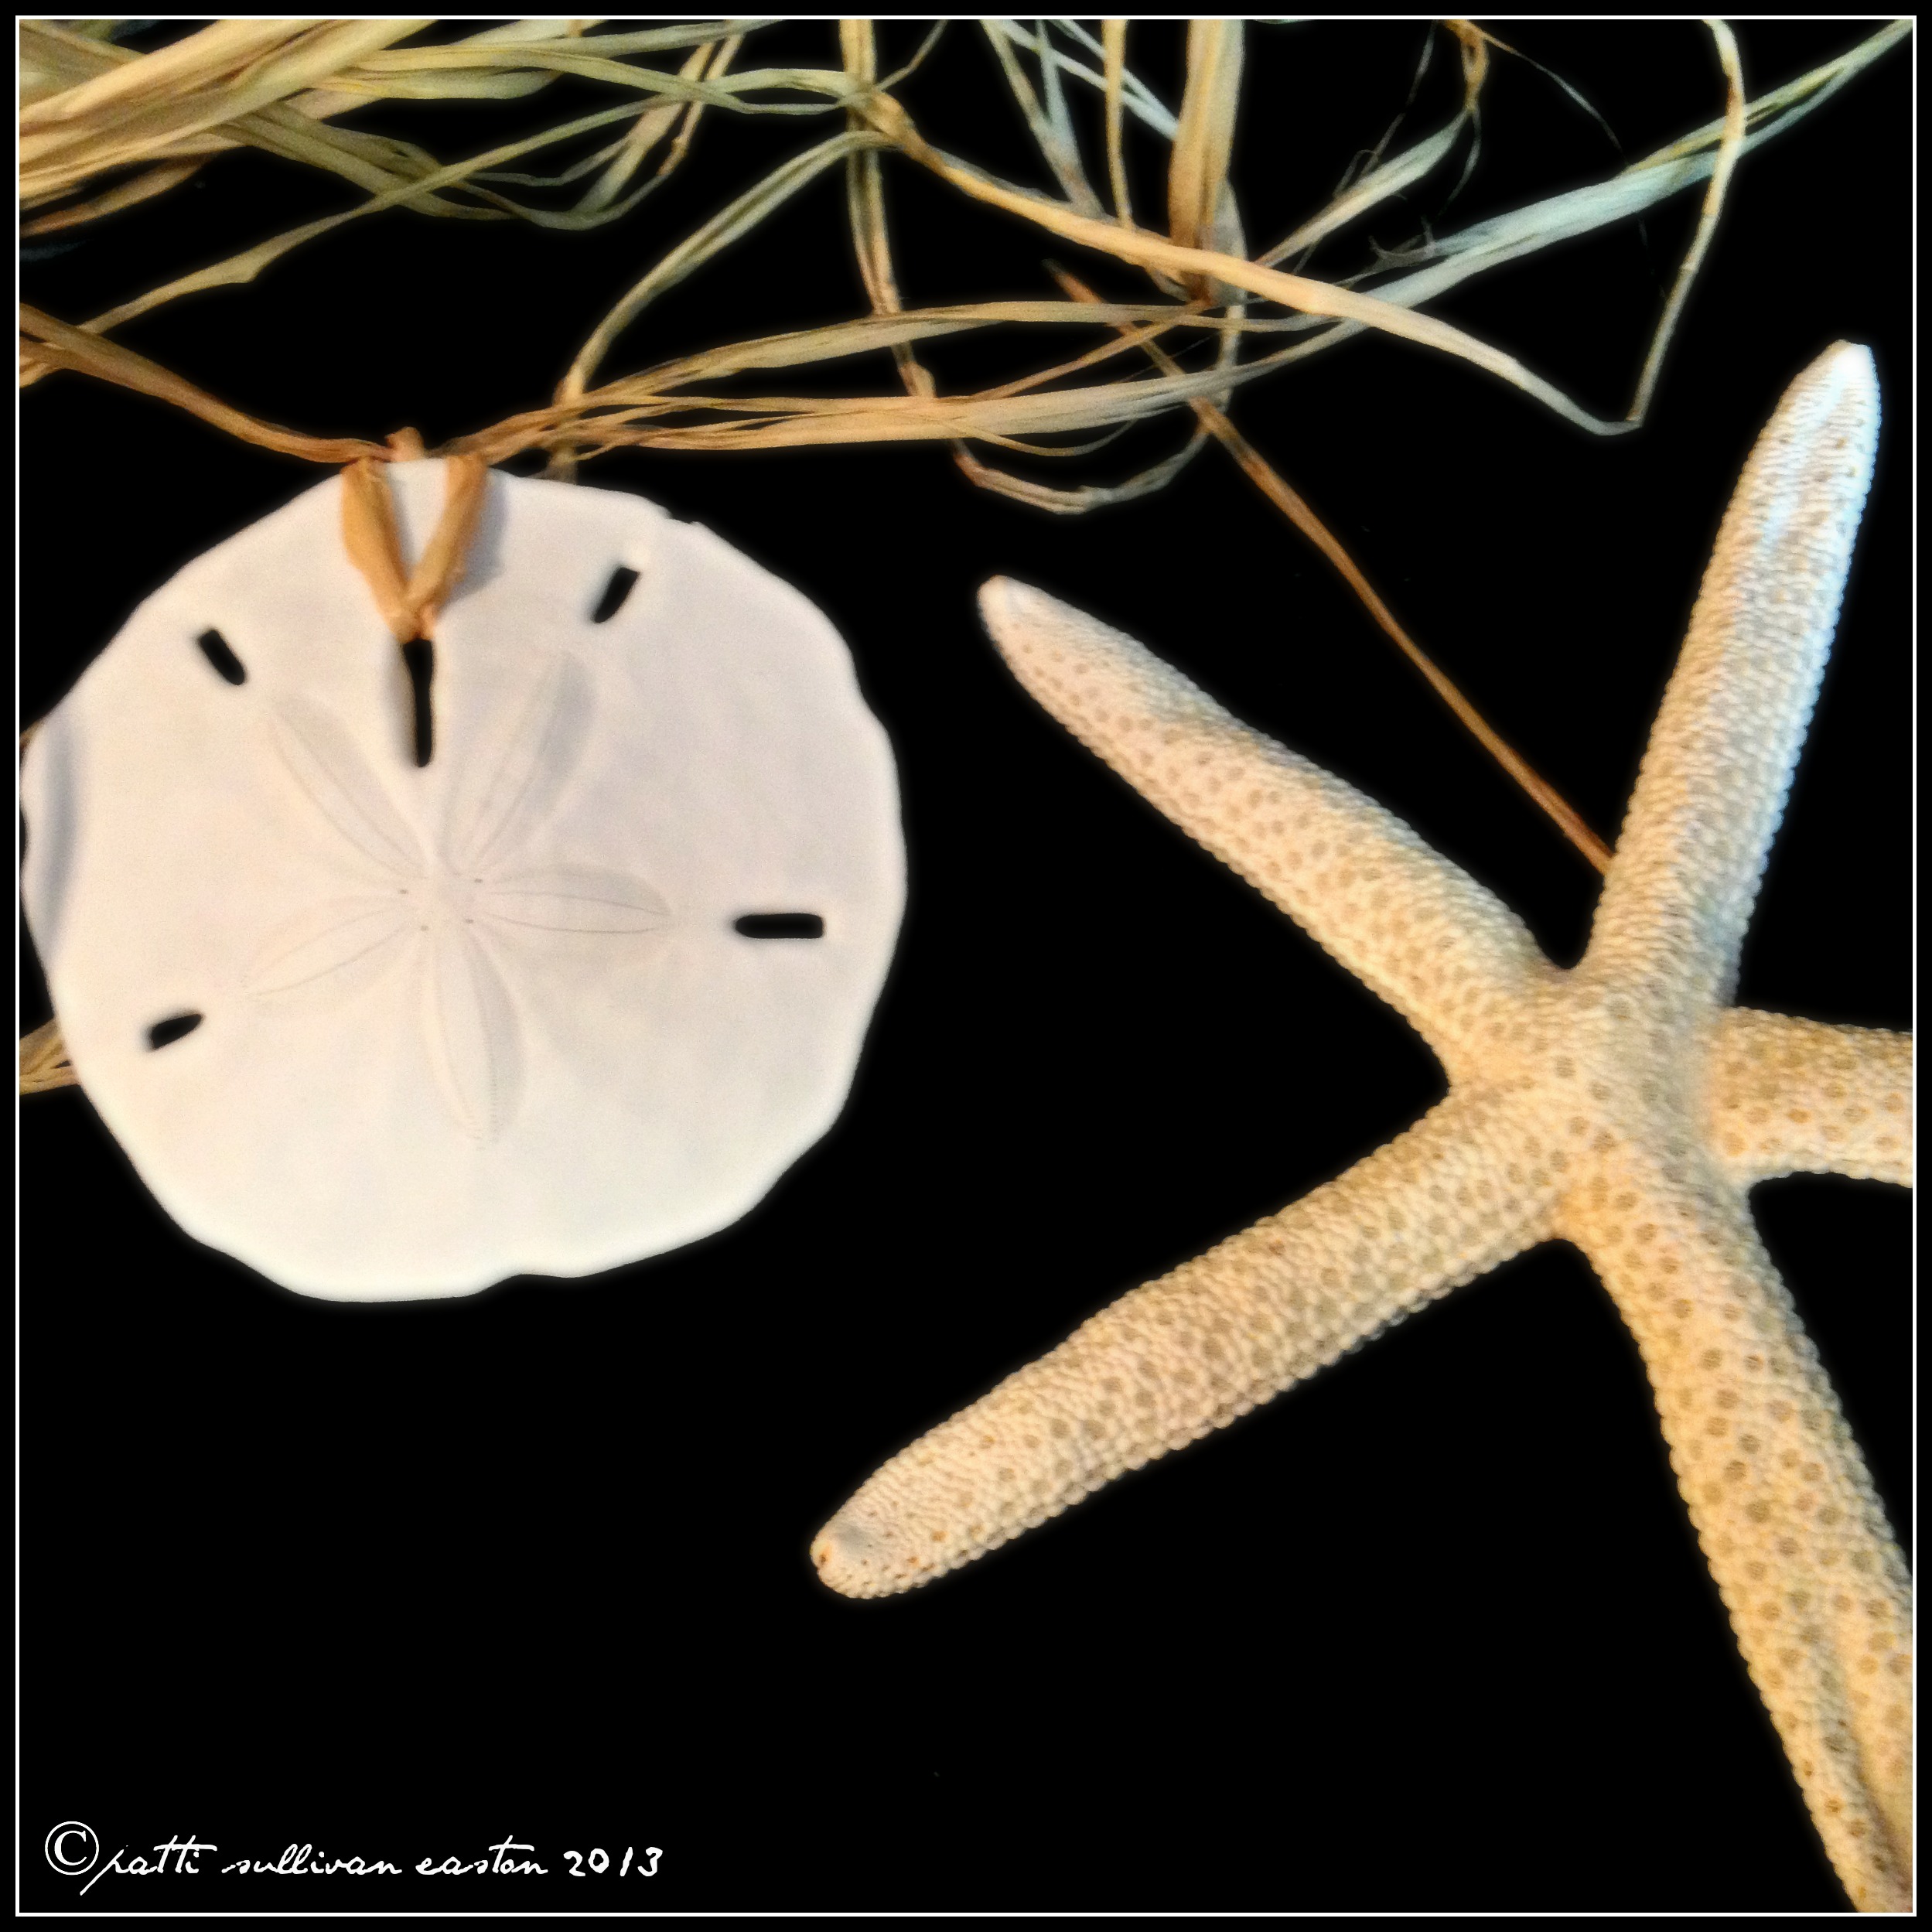
- A starfish~ the one I used was about 6″ wide
- A sand dollar~ the one I used was about 3 1/2″ diameter
- Raffia~ one piece about 12″ long to tie the starfish around the jar, one piece about 12″ long to tie the sand dollar around the jar, 5 pieces about 36″ long to tie a bow around the front of the jar to finish the jar.
- Old candle jars with the wax, and labels removed, or new glass jars of varying sizes
- Candles ***IN JARS*** Very Important! to fit inside the empty glass jars
- Bag of crushed seashells 32 oz.~ I used a blue variety and a neutral variety


***With the exception of my ‘used’ candle jars, which I will teach you how to repurpose, I purchased all remaining items at either Jo-Ann Fabric, or Michael’s… using my iPhone app coupons, flyer coupons, and teacher discount… they also accept military discounts!
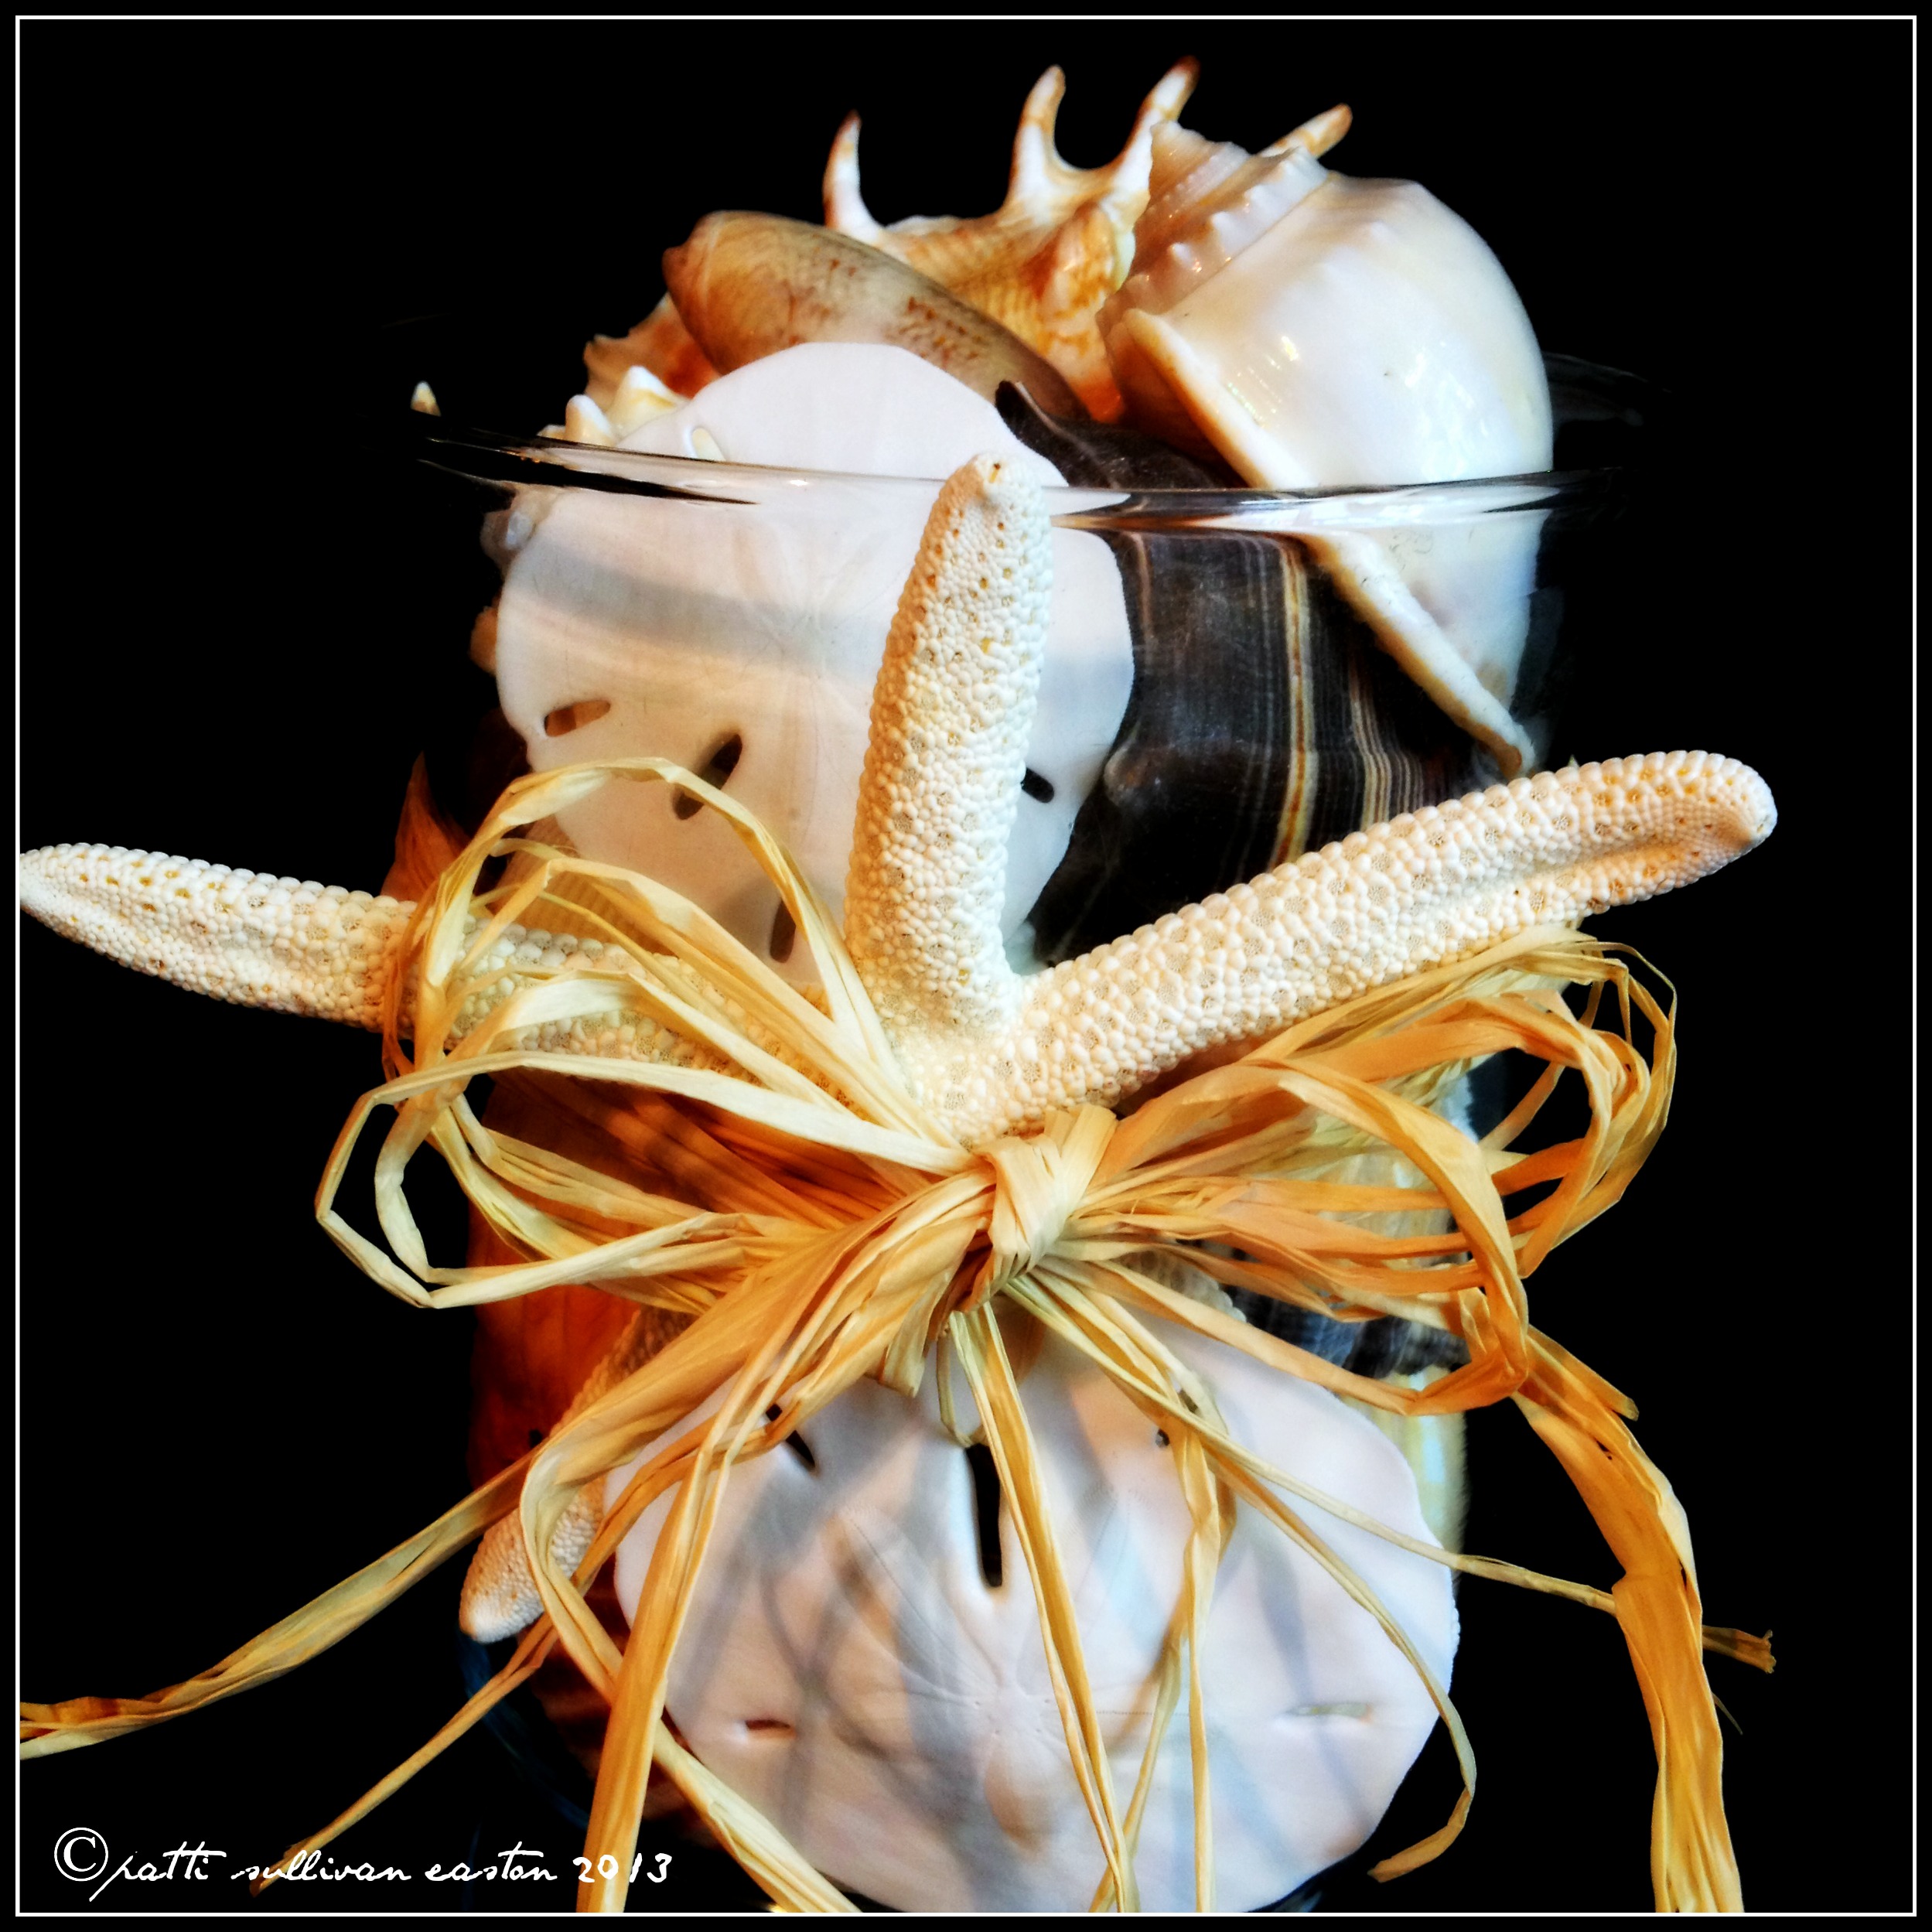
1~ To create your “Jar with Shells” Clean your jar with soapy water. To remove the tag from the bottom, use hot soapy water, and if there is still residue, use rubbing alcohol~ that should remove any tackiness that is left. Make sure the jar is completely dry. Begin gently placing the shells into the jar starting with big shells on the bottom and then placing shells so that you can see the ‘pretty’ sides from the outside of the jar. Make sure you place some of the prettiest shells on top. Gently shake the jar so the shells settle into place and rearrange as necessary!
2~ Take your starfish, and holding it toward the top of the jar, using a piece of the 12″ raffia, tie it gently but firmly to the jar, making your knot at the back of the jar.

3~ Take the 2nd piece of 12″ raffia, fold it in half and run it through the large hole of the sand dollar.
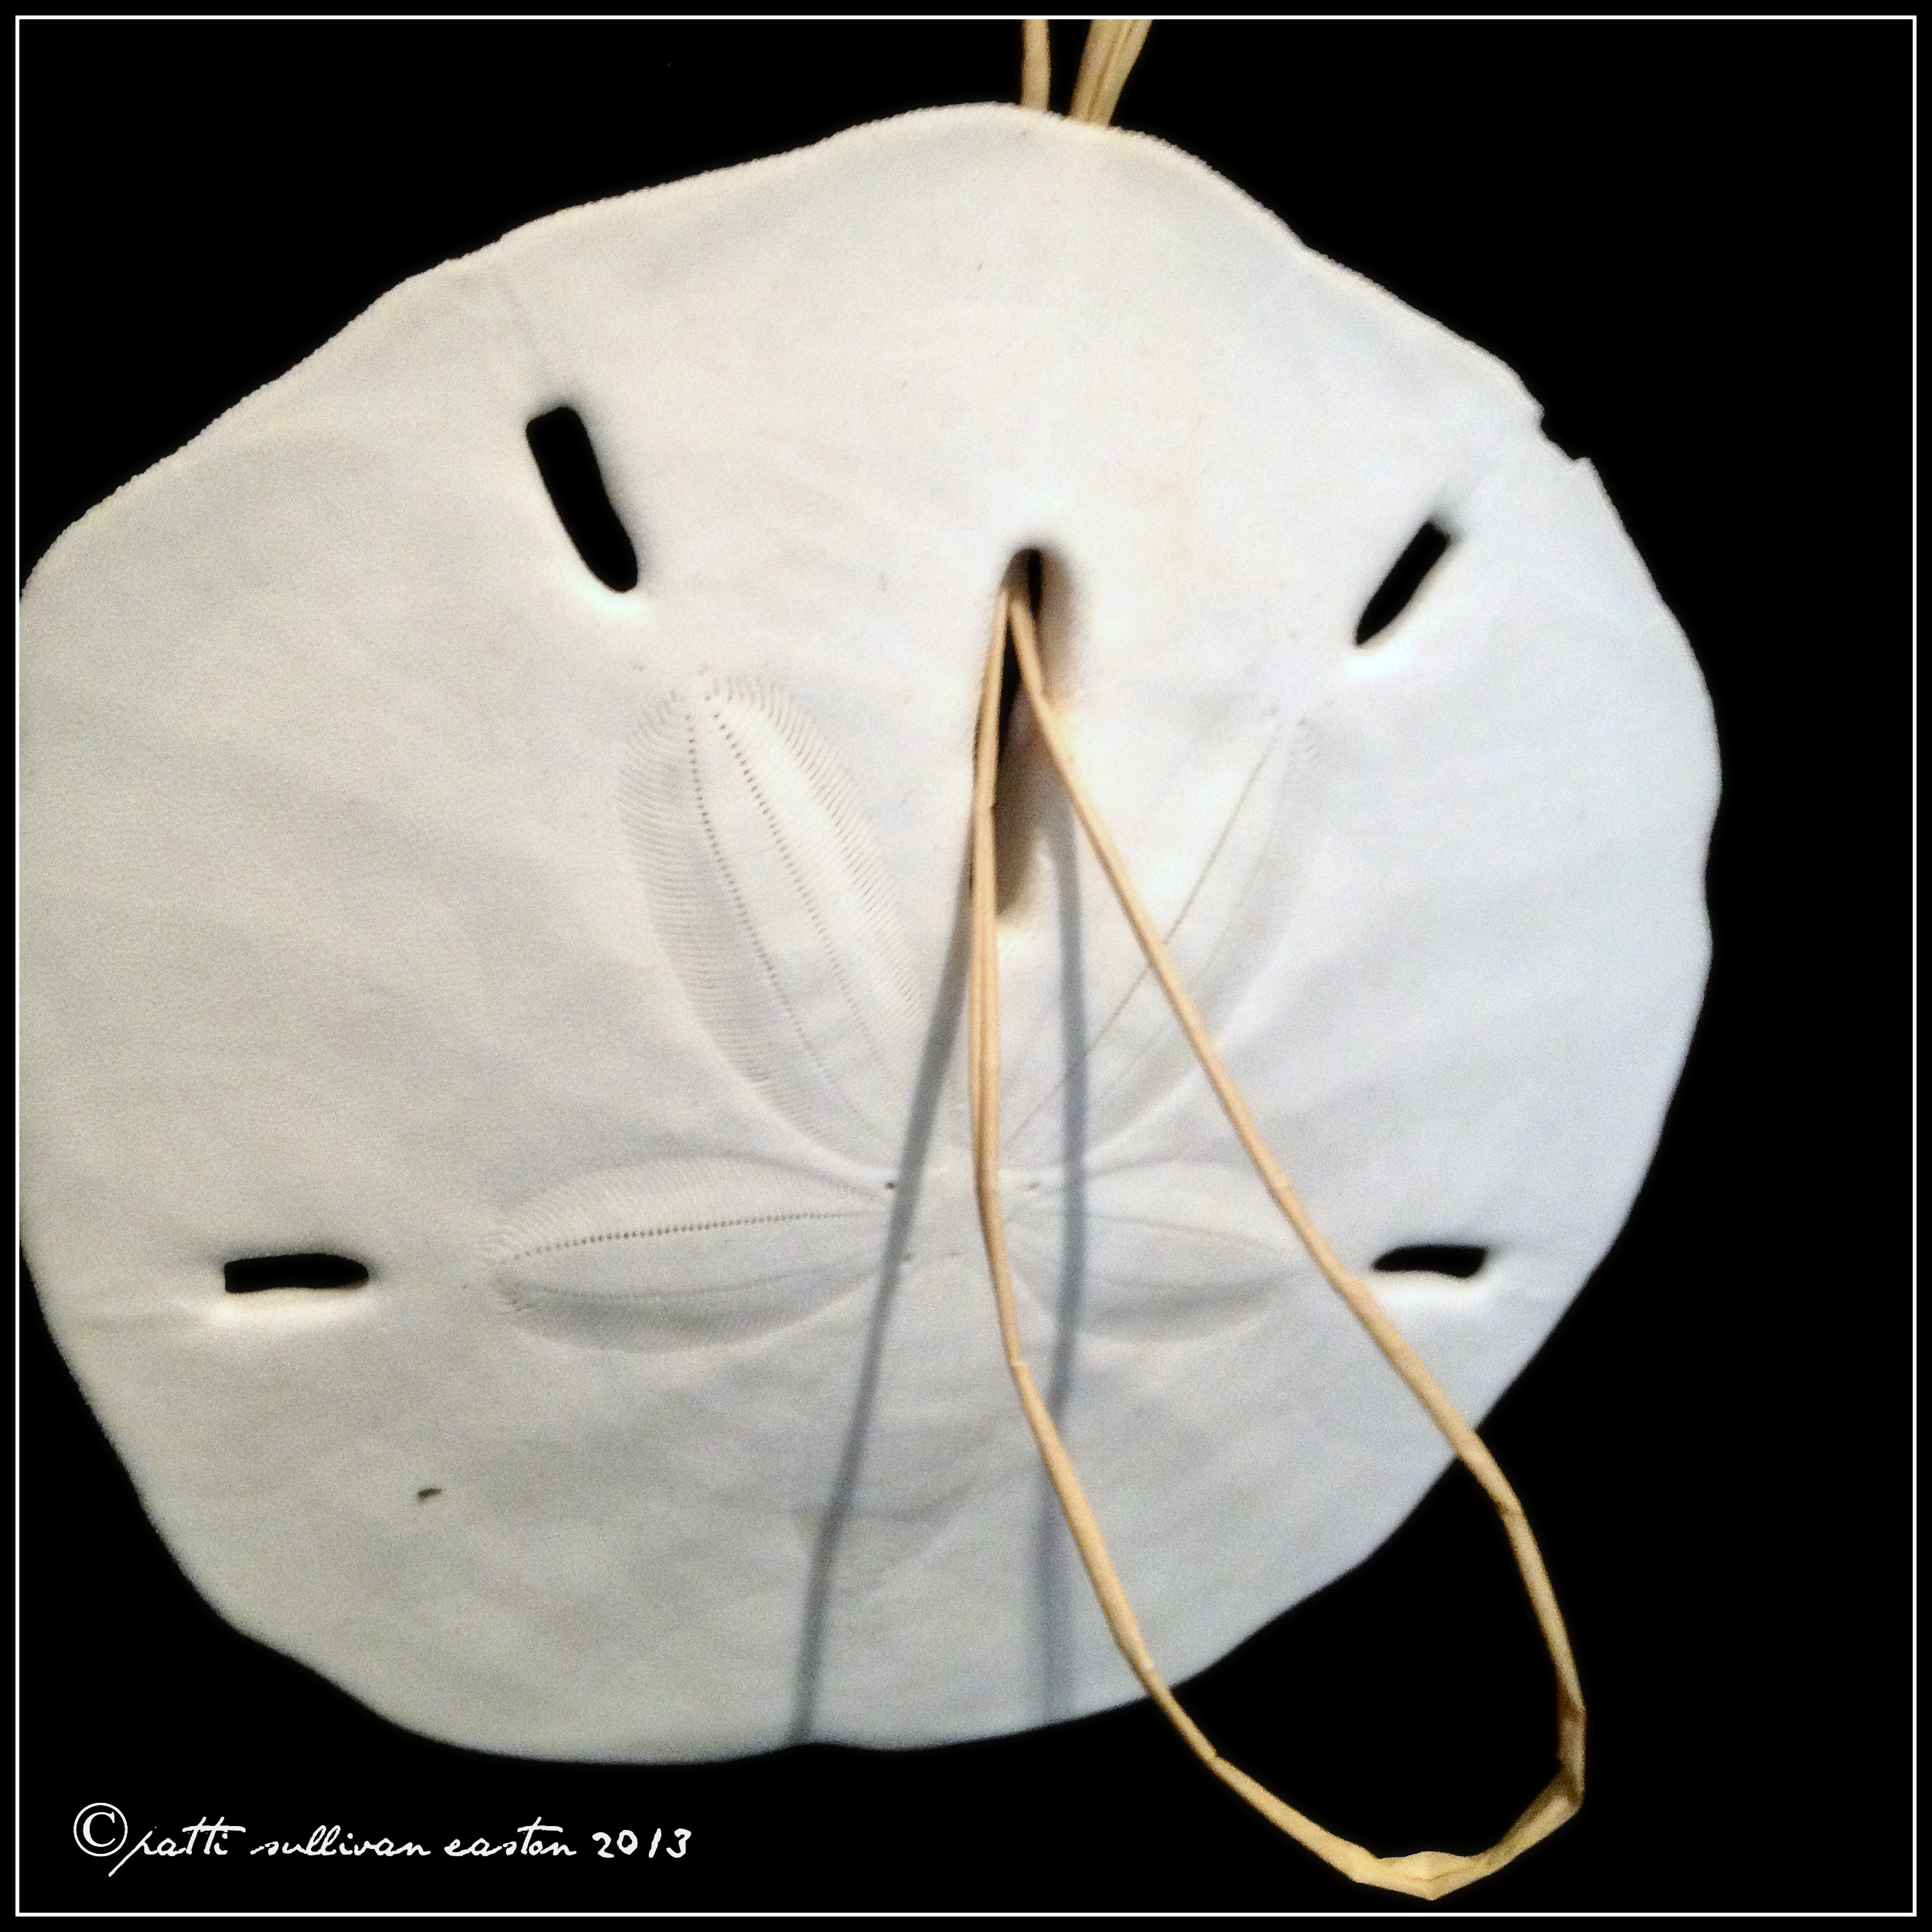
4~ Run the loose ends of the raffia back through the loop and gently pull the loop tight to the edge of the sand dollar. Then tie in front of the starfish around the glass jar.


5~ Take your 36″ pieces of raffia and tie a bow around to the front side of the jar, on top of the starfish.
6~ To complete the centerpiece you will want to make your jar candles! I used a combination of ‘repurposed’ empty candle jars, and brand new glass jars that I bought from the craft store. The new jars are not that expensive, and you can find them in different heights and sizes…BUT! repurposing is the bomb, because then you are reusing something you already have.
To repurpose a candle jar, burn your candle of course! 🙂 When you have used as much of the candle as you can, remove the wax from the bottom. Most of the time, I can take a butter knife and cut the remaining wax into pie-like sections, and with gentle prying remove the remaining wax. Make sure you remove the metal wick portion from the bottom of the jar. Remove the label from the front and the bottom of the jar as much as possible. After you have removed as much of the wax, and label as you can, let the jar soak in hot soapy water. Using a stiff rag, wash the jar out, and the labels off~ you should be able to get the jar squeaky clean. If sticky residue remains from the labels, use rubbing alcohol and you can usually remove the remaining gunk! Now you have a wonderfully clean jar to use for your project!

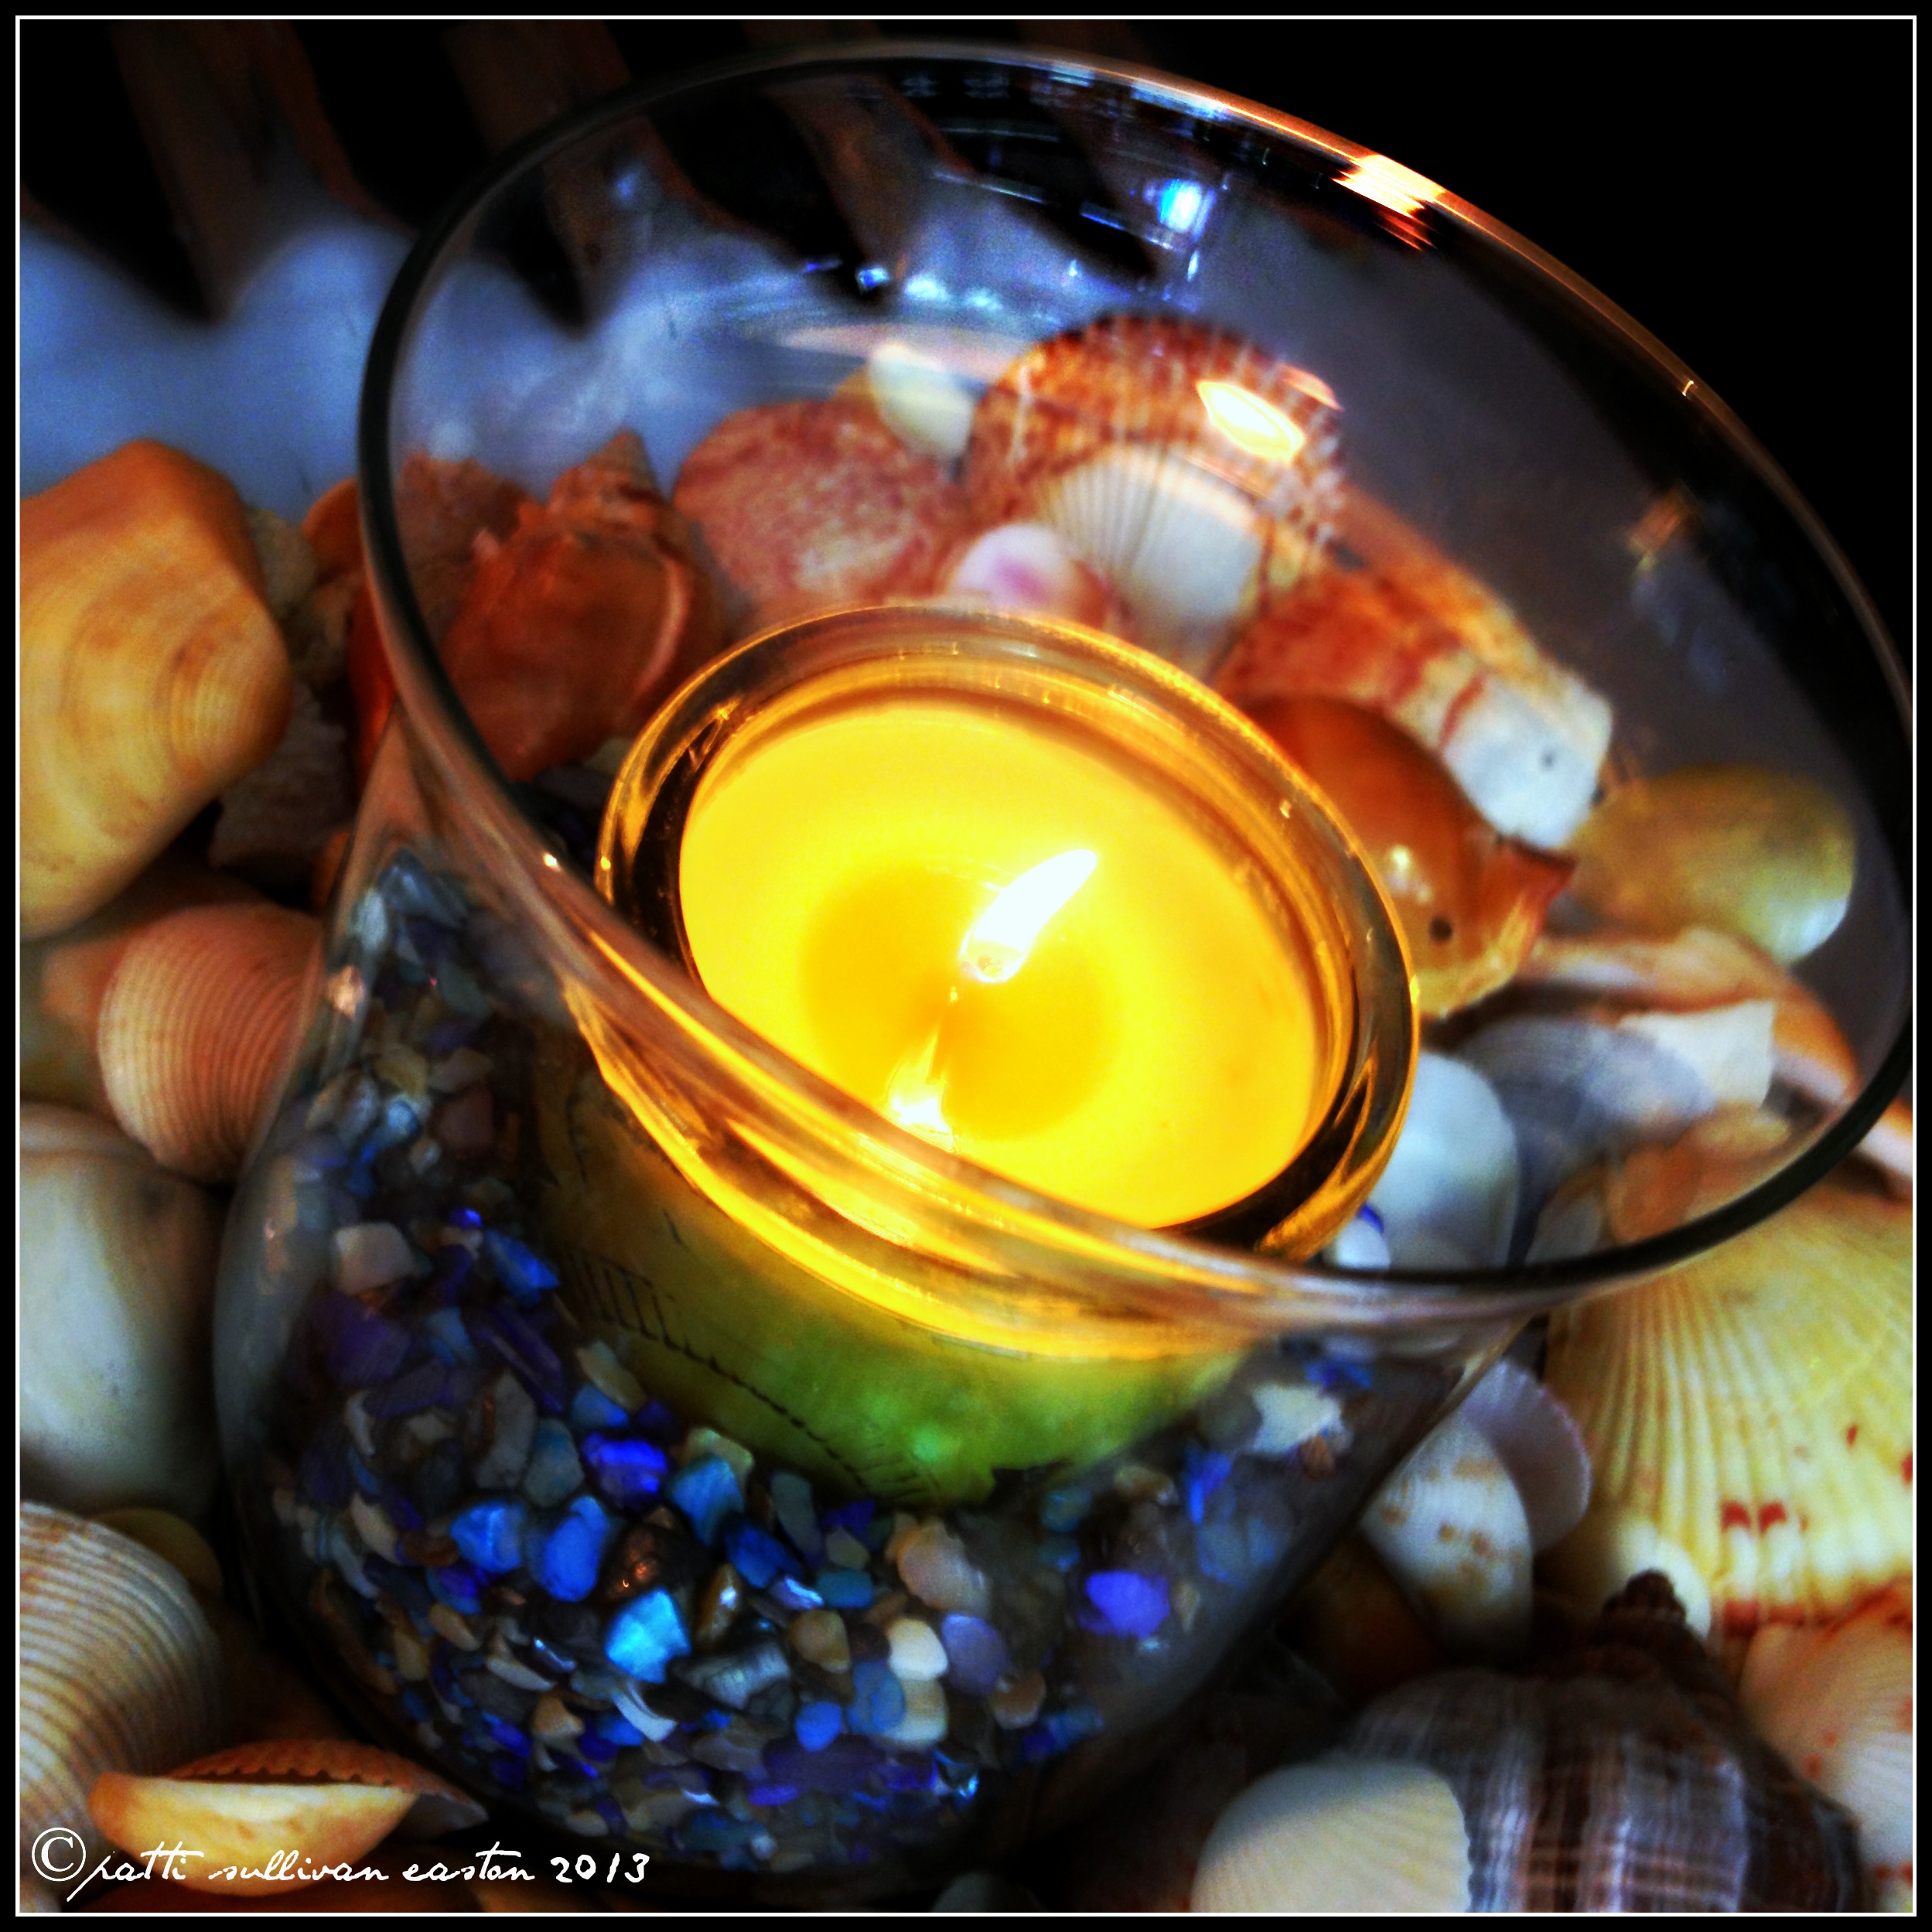
7~ Make sure you have purchased a ***candle in a jar*** small enough to fit inside of your empty jars, and place the candles inside the jar. I like using candles with lids, however if the candle does not have a lid, cover the candle top with a piece of foil (this is very important). Begin slowly pouring your crushed seashells around the candles, close to the top of the candles but not TO the top. Once you have filled with the shells, gently tamp the jar on the surface to settle the shells and then add more shells if necessary. Remove the lid of the candle carefully so that no shells spill into the candle… your beautiful candle is ready!

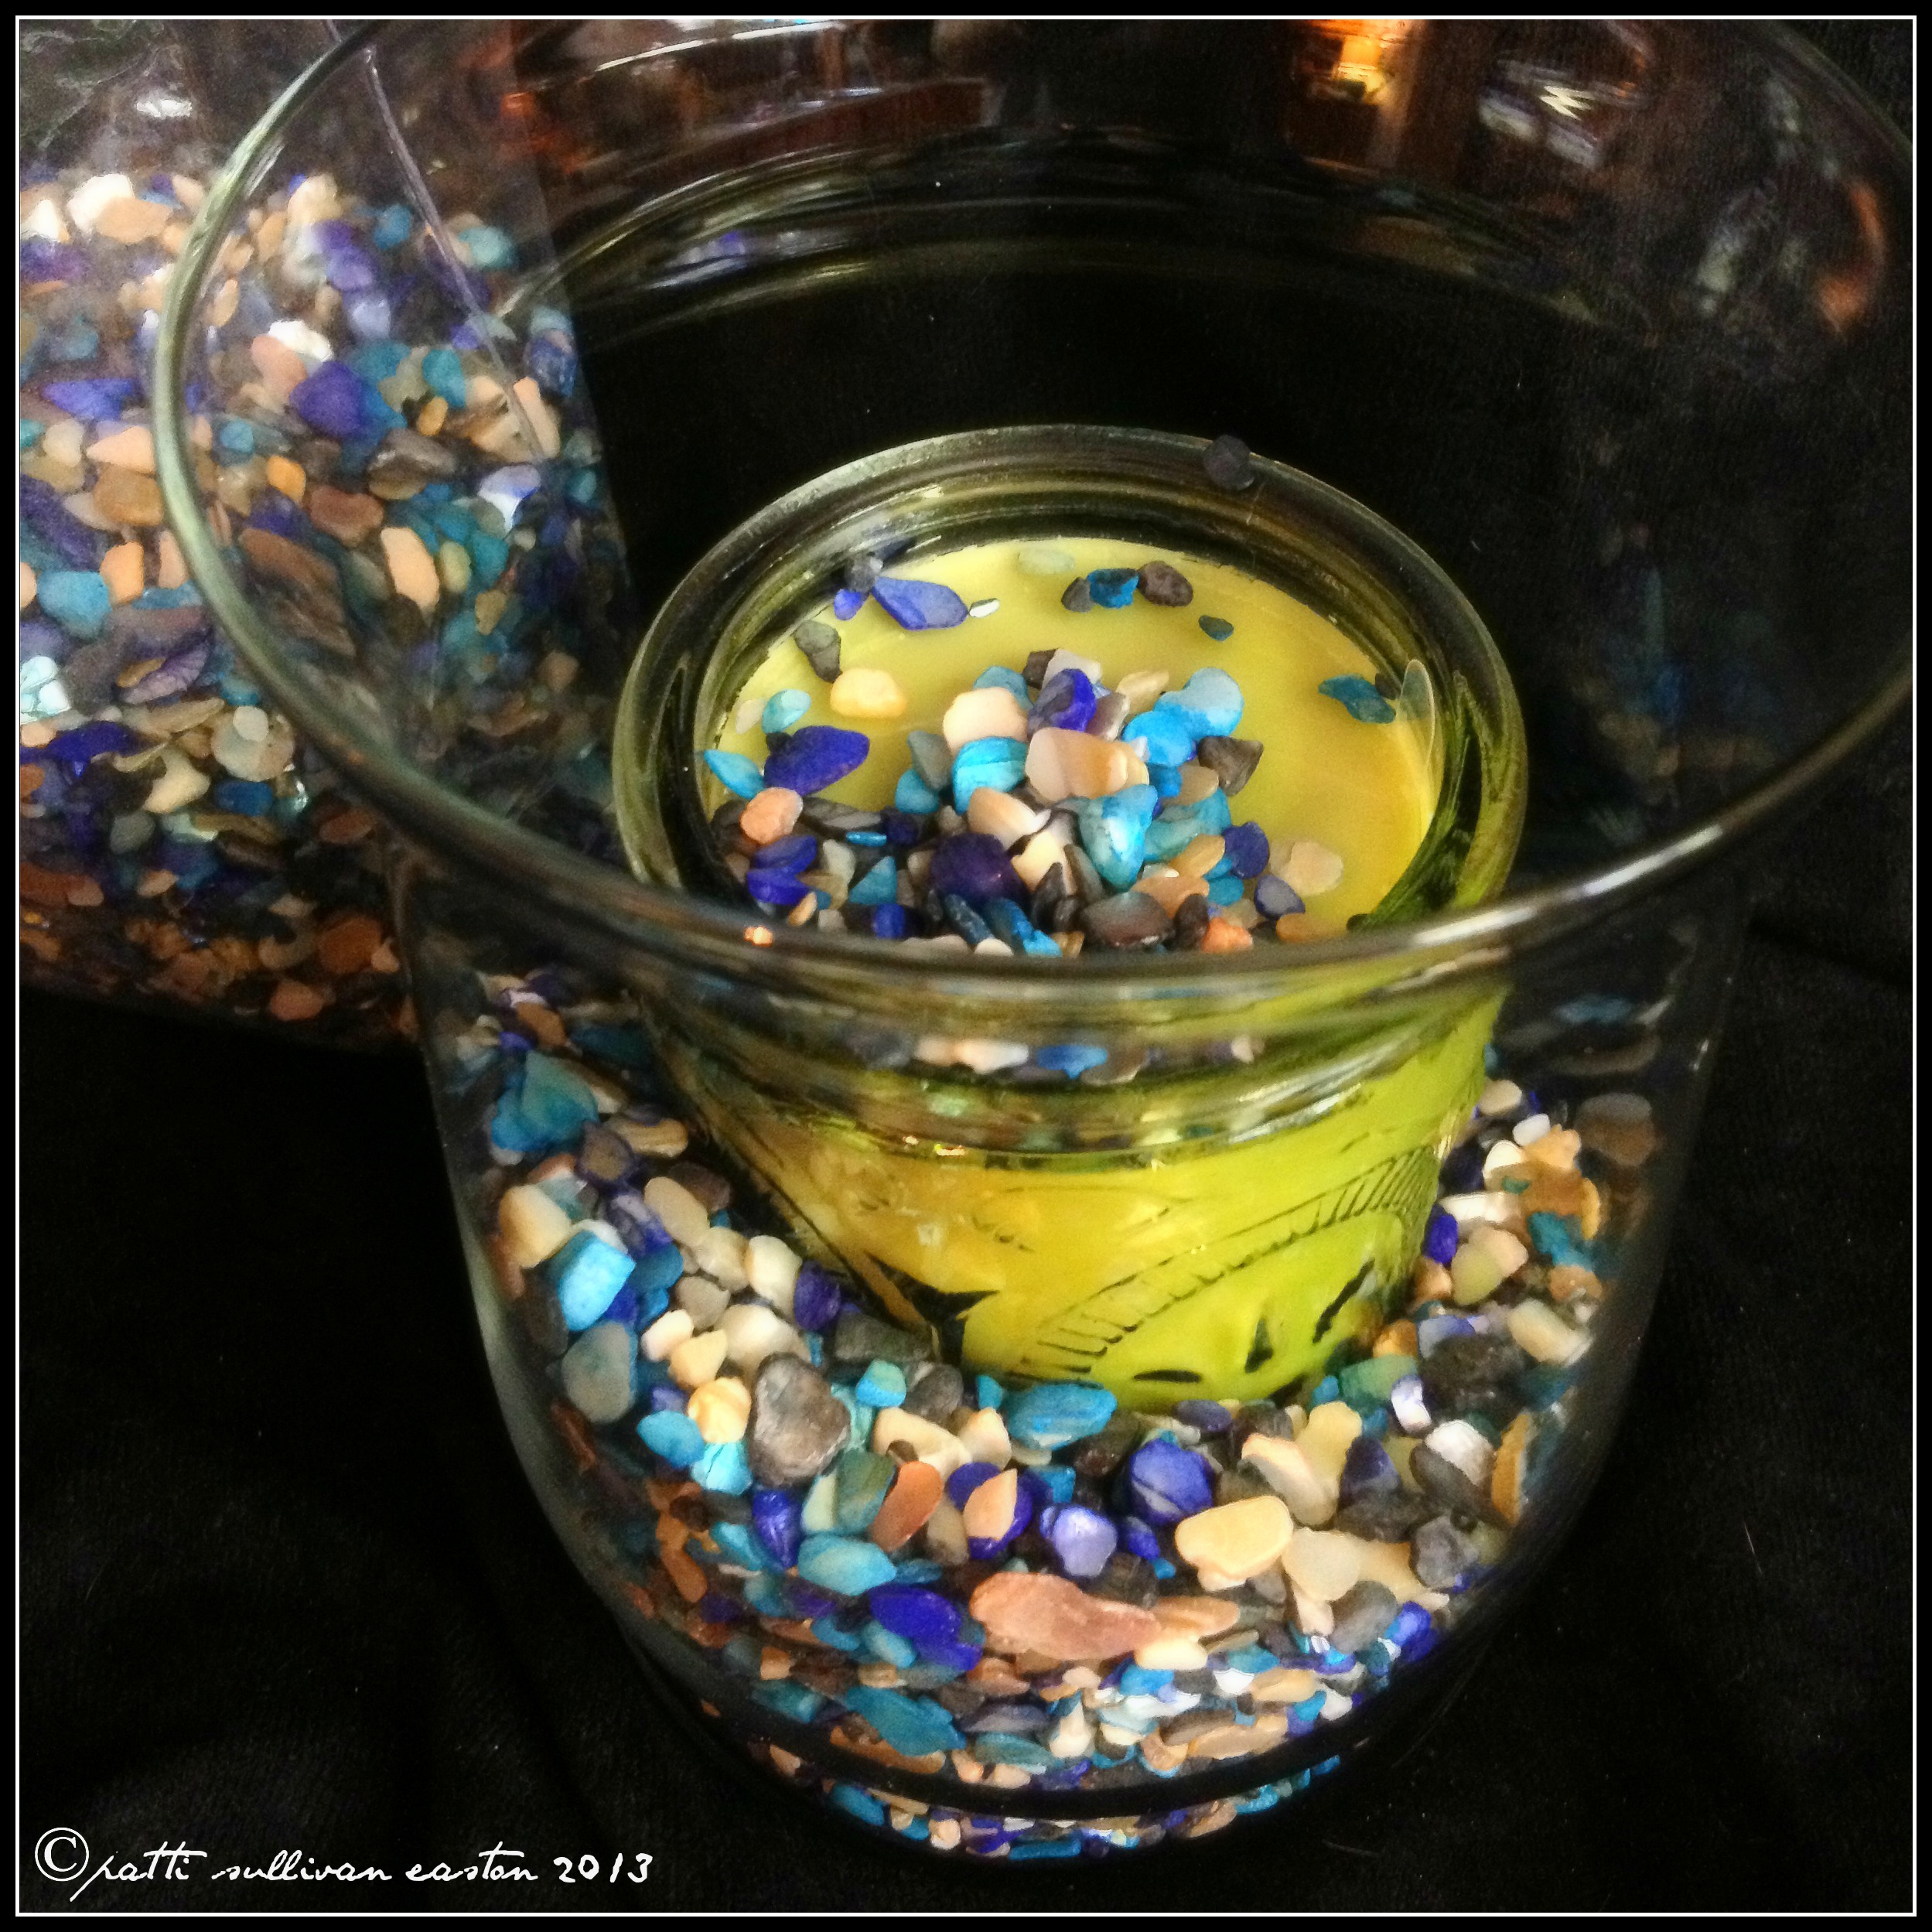
(this candle had a clear protective cover on top)

8~ Now, make several candle jars of different sizes….

… and arrange away! Let your creativity GO WILD!!!
I hope you will love this idea enough to create your own beautiful, summery table topper! This project is SO CRAZY EASY~ So INSANELY ‘BEACHY’ BEAUTIFUL! You TOO can make this project and enjoy the warmth and atmosphere this amazing ‘Summer Table Topper’ will bring!

Till next time, hope you are living, laughing and loving your life!
Patti